Step-by-Step Electrical Wiring Diagram for Light Switches
- 24emergencyelectri
- Oct 27, 2025
- 4 min read
Light switches are a simple part of any home. They let you control the lights easily. But behind the wall, wires carry electricity safely. Understanding these connections is essential for safety and efficiency.
Clear electrical wiring for light switches helps you avoid mistakes. It guides electricians and DIY enthusiasts alike. In this guide, we explain the step-by-step process. You will learn all the key aspects, benefits, and common mistakes to avoid.
Introduction to Light Switches
Light switches come in many types. You have single-pole, double-pole, and three-way switches. Each type serves a different purpose. Single-pole switches control a single light from a single location.
Switches are not just functional. They can also match your home decor. But improper wiring can cause hazards. Understanding electrical wiring for light switches ensures safe operation.
Step-by-Step Electrical Wiring Diagram
Step 1: Turn off the main power. Safety is the first rule. Use a voltage tester to confirm power is off. This prevents shocks and accidents.
Step 2: Choose your switch type. Single-pole is the most common. Three-way switches are used to control a light from two locations.
Step 3: Gather your materials. You need wires, a screwdriver, wire nuts, and electrical tape. Using the correct tools ensures proper installation.
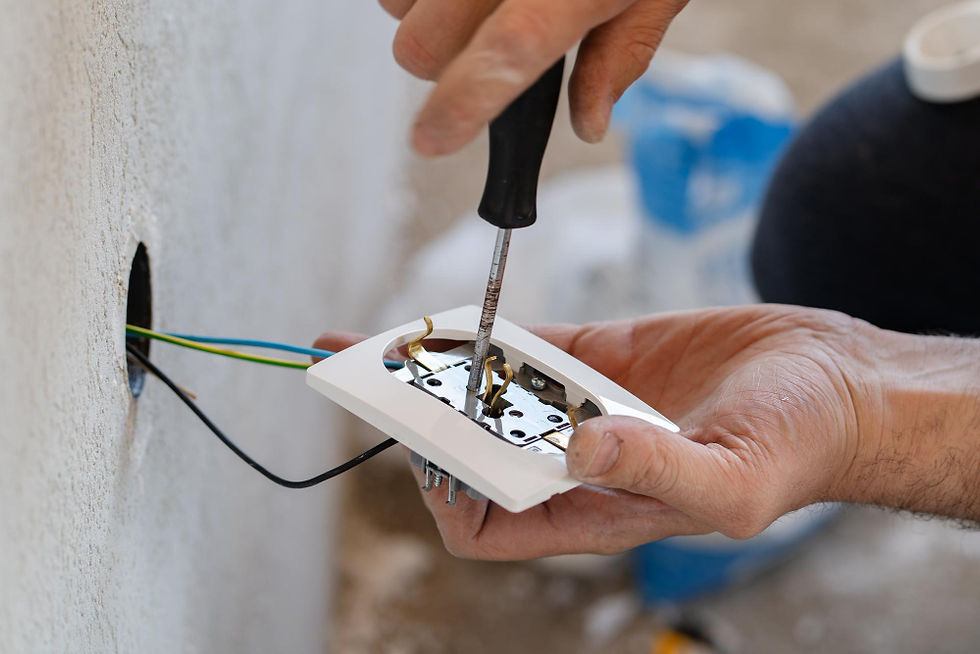
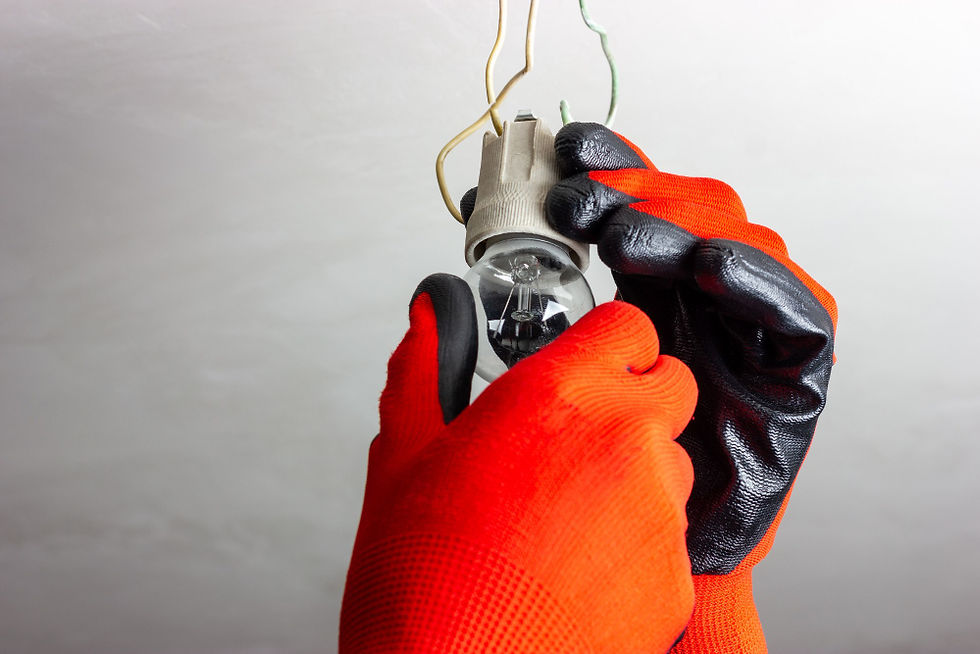
Step 4: Identify wires in the wall. Usually, you have a black (hot), white (neutral), and green or bare (ground). Labelling them avoids confusion later.
Step 5: Connect the wires to the switch. The hot wire goes to the brass screw. Neutral wires join together with a wire nut. The ground wire connects to the green screw.
Step 6: Secure the switch in the box. Screw it tightly, but don’t overtighten. Cover it with the switch plate. Turn on the power and test.
This simple diagram shows how electrical wiring for light switches works. Following these steps prevents common errors.
Key Aspects of Electrical Wiring for Light Switches
Safety is always the top priority. Always turn off the power before starting. Use wires of the correct gauge. Typically, 14-gauge cables are standard for lighting circuits.
Grounding is essential. It protects from electrical shocks. Always attach the ground wire to the switch and the metal box. Proper wire connections prevent loose contacts.
Use wire nuts or connectors approved by local electrical codes. Avoid twisting wires without proper connectors. Secure all connections with electrical tape for extra safety.
Knowing these details ensures your electrical wiring for light switches is reliable. It saves time and prevents accidents in the long run.
Benefits of Proper Electrical Wiring
Well-wired switches reduce fire hazards. They also increase the efficiency of your electrical system. Proper wiring prevents flickering lights and circuit trips.
It also helps with home inspections. Properly installed switches pass safety checks easily. If you plan to sell your home, it adds value.
Good wiring is durable. It can last decades without issues. Following an electrical wiring guide for light switches ensures long-lasting performance.
How Electrical Wiring Works
Electricity flows from the breaker panel. Hot wires carry current to the switch. When the switch is on, electricity flows to the light fixture.
Neutral wires complete the circuit. Ground wires provide safety. Every part must be connected correctly to prevent hazards.
Switches control the flow. They act as a gate for electricity. Following proper electrical wiring for light switches diagrams ensures safe operation.
Common Mistakes and How to Avoid Them
Mistake 1: Not turning off the main power. Always check with a voltage tester. This is the easiest way to prevent shocks.
Mistake 2: Misconnecting wires. Hot and neutral wires must be appropriately placed. Using a diagram helps avoid confusion.
Mistake 3: Using the wrong wire gauge. Too thin wires can overheat. Always check local electrical codes for wire size.
Mistake 4: Loose connections. Tighten screws properly. Loose wires can cause sparks or pose a fire hazard.
How to Choose the Best Electrical Wiring
Use copper wires, not aluminium, for safety and durability. Choose wires with the correct gauge for your lighting load.
Check for insulation quality. High-quality insulation prevents damage and short circuits. Use wire connectors approved by your local authority.
Planning helps. Decide how many switches and lights you need. Map out the wiring route on paper first. This ensures efficient electrical wiring for light switches installation.
Questions to Ask the Professional
Ask about the type of wire and gauge they will use. Check if they follow local electrical codes. Ask about grounding and safety measures.
Clarify the expected lifespan of the installation. Ask if they provide a warranty. Understanding these details ensures peace of mind.
Step-by-Step Installation Process
Turn off the power.
Choose the correct switch type.
Identify wires and label them.
Connect wires to the switch.
Secure the switch in the wall box.
Test the switch after turning on the power.
Following this step-by-step method reduces errors. Proper planning and execution ensure safe and functional wiring.
Details to Know
Always check your circuit breaker capacity. Avoid overloading the circuit. Use switches rated for the load they control.
Keep wires organised inside the box. Crowded wires can create heat and hazards. Avoid sharp bends in the wire.
Regular maintenance is key. Inspect switches periodically for loose connections. Well-maintained wiring prolongs lifespan and improves safety.
Conclusion
Installing light switches seems simple. But proper electrical wiring for light switches is critical for safety and efficiency. Follow step-by-step guides to avoid mistakes. Good wiring improves home safety, efficiency, and value. Knowing key aspects, asking the right questions, and avoiding errors ensures long-lasting results. With careful planning and execution, anyone can understand the process. Always prioritise safety and quality. Well-done wiring makes a house functional and secure.


Comments